Product Overview
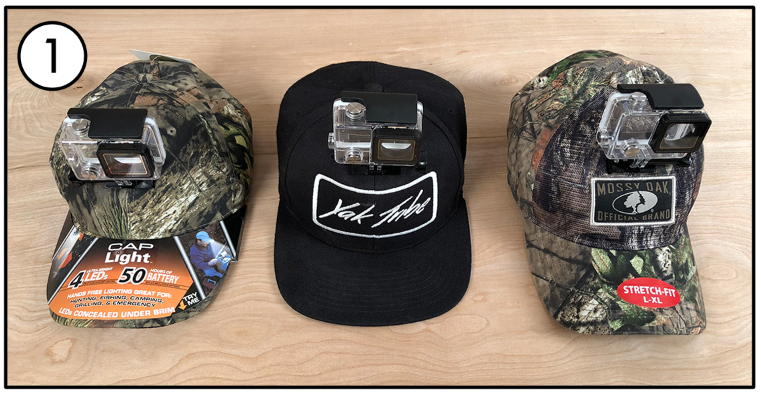
Turn your favorite hat into an ActionHat with the patent-pending ActionHat® FlexFrame DIY Kit. Check out the video below for the quick and easy instructions.
Kit Includes:
- ActionHat® FlexFrame
- ActionHat® Aluminum Mount
- Mounting Screws
Before You Start:
Pick the Right Hat
The ActionHat® Frame is 8 mm thick. the best hats to use are adjustable high crown hats that will help compensate for the extra thickness added. if using a low profile or fitted hat, we recommend trying a larger size than normal to achieve the ideal look and feel. You will need to punch two holes into your hat to install the frame and aluminum mount. Before making holes, place the frame into the hat and try it on to ensure a comfortable and secure fit.

2. Using the aluminum mount as a template, mark where you would like to place the holes. The holes should be 1 inch apart.
3. Using a blade, push it through the hat where marked. Do NOT use a drill.

4. Place the frame inside the hat. You can install the frame in any orientation. We recommend testing it in multiple positions to determine the best fit.

5. Once you have determined the orientation of the frame, hold the frame flush against the hat and push the screws through. Screw into the threaded holes on the aluminum mount.


